Top Tips for Using MIDI in FL Studio
Understanding MIDI in FL Studio
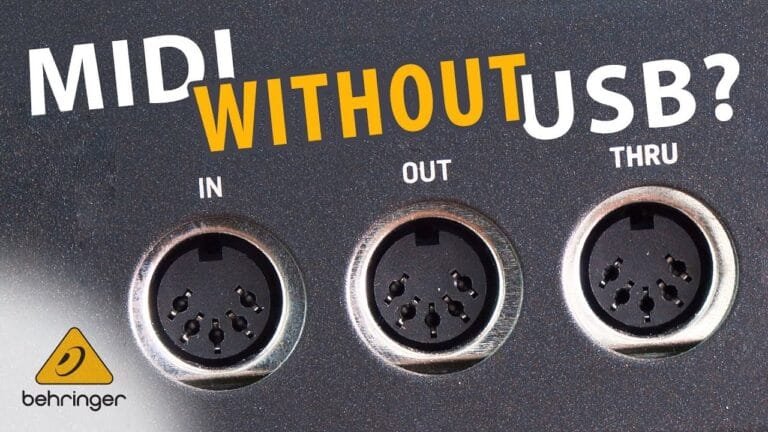
FL Studio is a complete software music production environment that has become popular amongst musicians and producers around the world. One of the main reasons for its popularity is its compatibility with MIDI (Musical Instrument Digital Interface), a standard protocol for the interchange of musical information between musical instruments, computers, and other related devices. This compatibility allows FL Studio users to create, edit, and mix their own music using a range of MIDI-compatible devices and tools.
Setting Up Your MIDI Controller in FL Studio
Before you can start using MIDI in FL Studio, you need to set up your MIDI controller. Here’s a step-by-step guide on how to do it:
- Connect your MIDI controller to your computer.
- Open FL Studio and navigate to the “Options” menu.
- Choose “MIDI settings” from the drop-down menu.
- In the “Input” section, select your MIDI controller from the list and click “Enable.”
Once you’ve done this, you’re ready to start using your MIDI controller in FL Studio.
Recording MIDI in FL Studio
Once your MIDI controller is set up, you can start recording MIDI in FL Studio. Here’s how:
- Open the “Channel Rack” and add a new instrument.
- With your MIDI controller connected and enabled, press the record button on the FL Studio interface.
- Play the notes on your MIDI controller that you want to record.
- When you’re done, press the stop button to finish recording.
FL Studio will automatically convert the notes you played on your MIDI controller into a MIDI pattern that you can edit and arrange in your project.
Editing MIDI in FL Studio
Once you’ve recorded a MIDI pattern, you can edit it in FL Studio’s Piano Roll. Here’s how:
- Open the Piano Roll by clicking on the channel containing your MIDI pattern in the Channel Rack.
- Select the notes you want to edit by clicking and dragging over them.
- You can move the selected notes by clicking and dragging them, change their length by clicking and dragging their edges, and delete them by pressing the delete key.
FL Studio’s Piano Roll is a powerful tool for editing MIDI, allowing you to make precise changes to your MIDI patterns and create complex musical arrangements.
Quantizing MIDI in FL Studio
Quantizing is a process that aligns your MIDI notes to the nearest beat or sub-beat, making your performance more rhythmically precise. Here’s how to do it in FL Studio:
- Select the notes you want to quantize in the Piano Roll.
- Choose “Quantize” from the “Tools” menu.
- Select the quantize settings you want to use and click “Start.”
The quantize feature in FL Studio is a great way to tighten up your performances and make your music sound more professional.
Using MIDI Effects in FL Studio
FL Studio comes with a range of MIDI effects that you can use to transform your MIDI patterns in creative ways. Here are a few examples:
Arpeggiator
The arpeggiator is a MIDI effect that automatically creates arpeggios from your MIDI notes. Here’s how to use it:
- Open the “Channel Settings” window for the instrument you want to use the arpeggiator on.
- Click on the “FUNC” tab and enable the arpeggiator by clicking on the “Arp” button.
- Select the arpeggio type, range, and speed from the drop-down menus.
The arpeggiator is a fun and easy way to add complexity to your music.
Chord Tool
The chord tool is a MIDI effect that automatically creates chords from your MIDI notes. Here’s how to use it:
- Open the Piano Roll and select the notes you want to turn into a chord.
- Choose “Chord” from the “Tools” menu and select the chord type you want to use.
The chord tool is a quick and easy way to create rich harmonic structures in your music.
Exporting MIDI from FL Studio
Once you’ve created and edited your MIDI patterns, you can export them from FL Studio for use in other software or hardware. Here’s how:
- Choose “Export MIDI file” from the “File” menu.
- Select the location where you want to save the MIDI file and click “Save.”
Exporting MIDI from FL Studio allows you to share your music with others and collaborate on projects using different software or hardware.
Conclusion
As you can see, FL Studio offers a wealth of options for working with MIDI, from recording and editing to using MIDI effects and exporting MIDI files. By understanding how to use these features, you can take full advantage of the creative possibilities that MIDI offers and produce music that is truly your own. So why not start exploring MIDI in FL Studio today?